Small Business Inventory Storage: Setup, Ideas, Tips & Costs
Your small business is growing, but your storage space is not. Inventory boxes stack up in corners, products sit on floors, and you waste time hunting for items when you need them most. Poor inventory storage costs you money through damaged goods, missed sales, and lost productivity. When your workspace becomes a maze of misplaced stock, your business suffers.
You can solve this with a simple storage system. Proper inventory organization keeps your products accessible, your workspace functional, and your costs under control. Whether you operate from home, rent office space, or need extra room beyond your current location, the right setup makes all the difference.
This guide walks you through building an effective inventory storage system for your small business. You’ll learn how to assess your needs, choose the right storage solutions, and control costs while keeping your inventory organized. We’ll cover everything from basic shelving setups to off-site storage options, with practical tips you can implement right away.
What smart inventory storage involves
Smart small business inventory storage combines physical organization with tracking systems to keep your products accessible and accounted for. You need clear storage locations, proper shelving or containers, and a method to track what you have and where it sits. This setup differs from simply stacking boxes in a back room because it prioritizes retrieval speed, product protection, and accurate stock counts. Your storage system should make it easy to find items, prevent damage, and give you real-time visibility into your inventory levels.
Core components of effective storage
Every functional storage system includes three elements. Physical infrastructure provides the shelves, bins, or racks that hold your products safely. Location labels mark each storage position so anyone can find items without searching. Inventory tracking records what sits in each spot, whether you use spreadsheets, software, or even a simple notebook system. You combine these elements based on your space constraints, product types, and budget.
Why it matters for your business
Poor storage practices create daily problems that drain profits. You waste time searching for misplaced items when you need to fulfill orders or check stock. Damaged products from improper storage eat into your margins. Inaccurate counts lead to stockouts or overordering, both of which hurt your cash flow.
Organized storage delivers measurable benefits. Your team works faster when they know exactly where to find products. You protect inventory from damage by storing items properly based on their requirements. Accurate tracking helps you reorder at the right time and avoid tying up money in excess stock. Better organization also makes it easier to spot slow-moving items so you can adjust your purchasing decisions.
Well-organized inventory storage cuts retrieval time by up to 70% compared to disorganized systems.
Step 1. Map your inventory and space
You cannot organize what you don’t measure. Before buying shelves or renting storage space, you need a clear picture of what you’re storing and where it can go. This mapping process takes a few hours but saves you from buying the wrong equipment or running out of space within months. Start by counting everything you have, measuring your available areas, and grouping items by their storage requirements.
Conduct a complete inventory audit
Walk through your current space and document every product type you store. Count each item, note its dimensions, and record its current storage condition. Use a simple spreadsheet or even a notebook to list products, quantities, and measurements. This audit reveals patterns you might miss when you’re just moving boxes around daily.
Pay attention to your inventory turnover during this audit. Mark which products you access daily, weekly, or only seasonally. Fast-moving items need easy access, while slow movers can sit in less convenient spots. You’ll use this information to design your storage layout in the next step.
Create a basic inventory audit template like this:
Product Name | Quantity | Dimensions (LxWxH) | Access Frequency | Special Storage Needs
-------------|----------|-------------------|------------------|---------------------
Example Item | 50       | 12x8x6 inches     | Daily           | Climate control
Example Item 2| 200     | 4x4x2 inches      | Weekly          | None
Measure and assess your storage space
Grab a measuring tape and record the dimensions of every area you might use for storage. Measure floor space, wall height, and any obstacles like doors, windows, or utility boxes. Don’t forget to note ceiling height because vertical space often holds the most unused potential for small businesses.
Document these measurements:
- Total floor space available for storage
- Clear wall lengths where shelving can mount
- Ceiling height in each storage area
- Door and hallway widths for moving items in and out
- Weight limits for floors (especially important in older buildings)
Your measurements help you calculate storage capacity before you commit to any solution. A 10×10 foot room with 8-foot ceilings can hold significantly more inventory with proper shelving than the same room with boxes stacked on the floor.
Categorize products by storage needs
Group your inventory into categories based on how you’ll store them. Different products need different handling, and this step prevents you from mixing items that require climate control with those that don’t or stacking heavy items on weak shelves.
Sort your inventory using these categories:
- Climate requirements: Needs temperature/humidity control versus standard storage
- Size and weight: Small, medium, large, and heavy items that need different shelf types
- Fragility: Delicate items requiring protective storage versus durable goods
- Security level: High-value items needing locked storage versus general stock
- Access frequency: Daily-use items versus seasonal or archived inventory
This categorization directly influences your small business inventory storage layout. You’ll place frequently accessed items at eye level in high-traffic areas, while seasonal stock can sit on higher shelves or in off-site storage. Climate-sensitive products might need a separate area with environmental controls, and high-value items should stay in locked cabinets or secured zones.
Categorizing inventory by storage requirements before choosing solutions cuts storage costs by eliminating unnecessary premium features for items that don’t need them.
Step 2. Set up your small business inventory storage
Now you transform your inventory map into a working storage system. This step involves selecting the right equipment, designing a layout that matches your workflow, and creating a labeling system that keeps everything findable. You’ll make decisions about shelving types, storage containers, and how to arrange items for maximum efficiency. Each choice you make here directly affects how quickly you can locate products and how much inventory you can fit in your available space.
Choose the right storage infrastructure
Your physical storage setup starts with shelving units that match your inventory’s weight and dimensions. Metal industrial shelving holds more weight per shelf (typically 500 to 1,000 pounds) than plastic or wood options, making it ideal for heavy products. Wire shelving works well for items that need air circulation, while solid shelves better protect products from dust.
Calculate your weight requirements per shelf before buying anything. Add up the total weight of items you plan to store on each level, then choose shelving rated for at least 20% more than your calculation. This safety margin prevents sagging shelves and potential collapses. For a 10×10 storage room, you can typically fit three to four standard shelving units (48 inches wide) along the walls while maintaining a center aisle for access.
Bins and containers add another organization layer. Clear plastic bins let you see contents without opening them, while opaque containers work fine for items you’ve labeled clearly. Standard bin sizes include small (6x6x4 inches), medium (12x8x6 inches), and large (16x12x8 inches). Match your bin sizes to shelf dimensions so they fit without wasted space.
Consider these infrastructure options by business type:
| Business Type | Recommended Setup | Cost Range |
|---|---|---|
| E-commerce/Retail | Heavy-duty metal shelving + labeled bins | $300-$800 |
| Service Business (documents/supplies) | Light-duty shelving + file boxes | $150-$400 |
| Wholesale/Distribution | Pallet racks + industrial shelving | $800-$2,000+ |
| Craft/Manufacturing | Mobile carts + modular shelving | $400-$900 |
Design your layout for workflow
Arrange your small business inventory storage to minimize walking distance between frequently accessed items. Place your fastest-moving products closest to your packing or work area, ideally at waist height where you can grab them without bending or reaching. Slower-moving inventory belongs on higher shelves or toward the back of your storage space.
Create clearly defined zones for different product categories. Group related items together so you can find what you need without searching multiple areas. Your layout might include zones for raw materials, finished products, packing supplies, returns, and seasonal items. Mark each zone with visible signage mounted at eye level.
Leave adequate aisle width for moving products in and out. A minimum 36-inch aisle allows one person to move comfortably with a hand cart. If you need to accommodate pallet jacks or multiple people working simultaneously, widen aisles to 48 or 60 inches. Narrow aisles pack in more shelving but slow down your operations when you’re pulling orders.
Placing high-turnover items within 10 feet of your packing station cuts order fulfillment time by up to 40%.
Implement a labeling system
Your labeling system connects physical locations to your inventory tracking method. Assign each shelf, bin, or storage position a unique identifier that you’ll record in your inventory records. Use a simple alphanumeric system like “A1” for the first shelf in Zone A, “A2” for the second, and so on.
Print large, durable labels that withstand your storage environment. Laminated paper labels work for indoor storage, while weatherproof vinyl stickers suit areas with temperature or humidity fluctuations. Place labels at eye level on shelf edges and on the front of each bin or container.
Create a location reference sheet that maps your entire storage area. This master document shows every storage position and helps new team members learn your system quickly:
STORAGE LOCATION MAP
Zone A (Shelving Unit 1): Fast-Moving Products
  A1 (Top Shelf): Product Category 1
  A2 (Middle Shelf): Product Category 2
  A3 (Bottom Shelf): Product Category 3

Zone B (Shelving Unit 2): Seasonal Items
  B1 (Top Shelf): Summer Products
  B2 (Middle Shelf): Fall Products
  B3 (Bottom Shelf): Winter Products
Update your inventory tracking system to include these location codes for every product. When you receive new stock, record both the quantity and the specific location where you store it. This practice eliminates searching when you need to pull items for orders or conduct stock counts.
Step 3. Control costs with smart storage choices
Storage costs extend beyond monthly rent or equipment purchases. You pay for wasted space when your layout inefficiently uses square footage, for damaged inventory from poor storage conditions, and for labor hours spent searching through disorganized areas. Smart small business inventory storage minimizes these hidden expenses while giving you room to grow. The goal involves balancing upfront equipment costs against long-term operational savings and choosing storage locations that match your actual needs rather than paying for features you won’t use.
Compare on-site versus off-site options
Your workspace determines whether you store inventory on-site or rent external storage. On-site storage (using your existing office, garage, or retail space) costs nothing extra for the location itself, but you sacrifice workspace and might outgrow it quickly. Calculate how much productive area you lose to inventory and what that space costs per square foot.
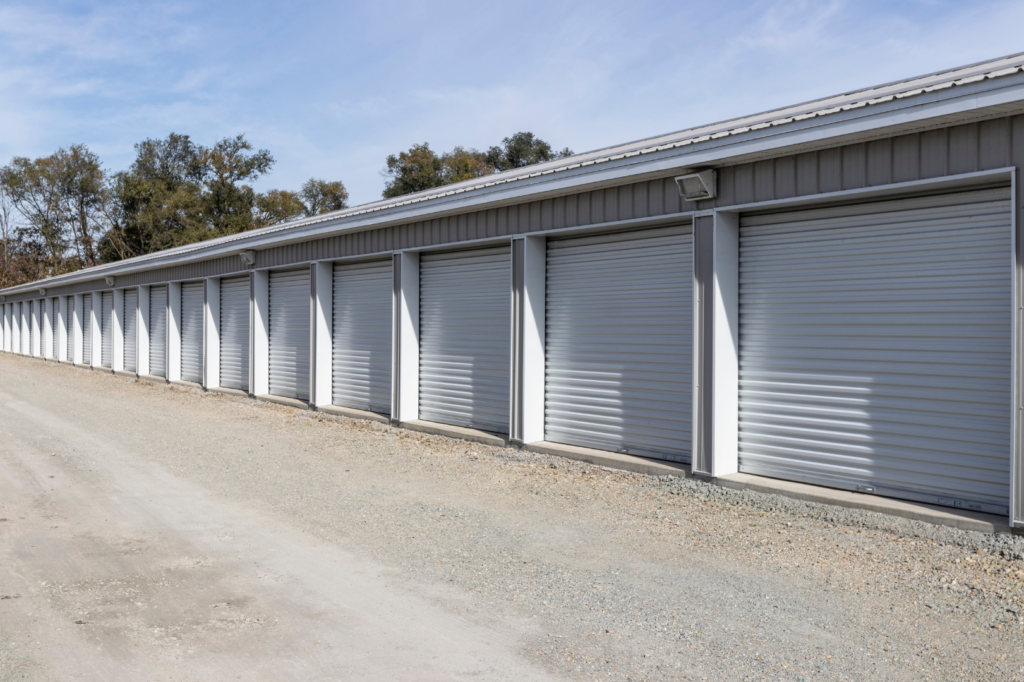
Off-site storage makes sense when your inventory exceeds available space or when you need climate control your current building doesn’t provide. Self-storage facilities typically charge $50 to $200 monthly for climate-controlled units between 10×10 and 10×20 feet. You gain dedicated space without disrupting your workspace, plus features like 24/7 access and security systems that would cost thousands to install yourself.
Evaluate your decision using these factors:
- Access frequency: Daily access favors on-site; weekly or monthly suits off-site
- Product value: High-value inventory needs security features off-site facilities provide
- Growth rate: Rapidly expanding inventory benefits from scalable off-site options
- Space cost: Compare your current rent per square foot against storage facility rates
Businesses typically break even on off-site storage when inventory occupies more than 15% of their productive workspace.
Calculate your true storage costs
Add up all expenses to understand your real storage investment. Direct costs include shelving purchases, bins, labels, and monthly rent for external storage. Indirect costs cover the labor time spent organizing, retrieving, and counting inventory, plus any losses from damaged or misplaced products.
Use this framework to calculate your monthly storage costs:
MONTHLY STORAGE COST BREAKDOWN

Physical Space:
  Rent (or opportunity cost of workspace): $______
  Utilities for storage area: $______

Equipment (amortized over 5 years):
  Shelving units: $______ ÷ 60 months = $______
  Bins and containers: $______ ÷ 60 months = $______
  Labels and supplies: $______ ÷ 60 months = $______

Labor (estimate hours × hourly rate):
  Daily inventory management: _____ hours × $_____ = $______
  Monthly stock counts: _____ hours × $_____ = $______

Losses:
  Damaged inventory (average monthly): $______
  Misplaced/lost items (average monthly): $______

TOTAL MONTHLY COST: $______
Track your storage costs quarterly and compare them to your inventory value. Your storage expenses should stay below 5% of total inventory value for most small businesses.
Source equipment affordably
You don’t need expensive commercial-grade systems to organize effectively. Heavy-duty residential shelving from retailers handles most small business needs at half the cost of industrial equipment. A typical 72-inch tall metal shelf unit costs $80 to $150 and supports 500 to 1,000 pounds per shelf when properly assembled.
Consider these cost-saving approaches for equipment:
- Buy used commercial shelving from businesses closing or downsizing through local classifieds
- Purchase plastic bins in bulk during back-to-school sales for 30% to 50% discounts
- Use DIY labeling with a standard printer and adhesive label sheets instead of specialized equipment
- Start with minimal infrastructure and add shelving as inventory grows rather than overbuying upfront
Your budget determines your timeline, not your organization quality. A well-labeled system using basic shelves works better than expensive equipment arranged poorly.
Additional resources and templates
You need ready-to-use tools that simplify your small business inventory storage management without requiring specialized software. Free templates and simple calculators help you track stock, plan storage capacity, and maintain accurate records from day one. These resources work with basic tools you already have, like spreadsheets or even printed forms, so you can implement them immediately without additional costs or training.
Inventory tracking spreadsheet template
A basic spreadsheet tracks your inventory locations and quantities without expensive software. Create columns for Product Name, SKU/Item Number, Quantity on Hand, Storage Location, Reorder Point, and Last Updated. Add a Status column that flags low stock automatically using conditional formatting when quantities fall below your reorder point.
Product Name | SKU | Quantity | Location | Reorder Point | Status | Last Updated
-------------|-----|----------|----------|---------------|--------|-------------
Blue Widget  | BW-001 | 45    | A1       | 20            | OK     | 2025-11-20
Red Gadget   | RG-002 | 12    | A2       | 25            | LOW    | 2025-11-22
Green Tool   | GT-003 | 150   | B1       | 50            | OK     | 2025-11-23
Storage capacity calculator
Calculate how many units fit in your space before buying shelving or renting storage. Multiply your shelf dimensions (length × width × usable height) to get cubic footage, then divide by your average product box volume to estimate capacity. Account for a 20% buffer for aisle space and handling room.
Planning storage capacity before committing to equipment prevents costly reorganizations within months of setup.
Bringing it all together
Your small business inventory storage system works when you combine accurate inventory mapping, smart storage infrastructure, and cost-conscious decisions. You now have the framework to assess your products and space, set up organized storage with proper shelving and labeling, and control expenses by choosing the right storage location. Apply these steps to transform cluttered inventory areas into efficient systems that save time and protect your products.
Start with what you learned in Step 1 by auditing your current inventory and measuring available space. Then implement your storage setup using the equipment and layout strategies from Step 2. Track your results monthly to ensure your system continues working as your business grows. When your current space reaches capacity or you need features like 24/7 access and climate control, explore professional storage solutions that scale with your needs. Keyless Storage offers secure, climate-controlled units with smartphone access and ground-floor convenience, giving your business room to grow without compromising accessibility or security.